
(PAGE UNDER EDITING)
First of all, thank you for trusting our product. The following tutorial is based on the premise that your camera has been fully repaired and inspected and calibrated.
Basic Usage
For basic shooting functions, you can refer to the original Polaroid SX-70 instruction manual. The usage and precautions for fully automatic exposure shooting are almost identical to the original manual, but there are two differences:
1.Micron bulbs are not supported.
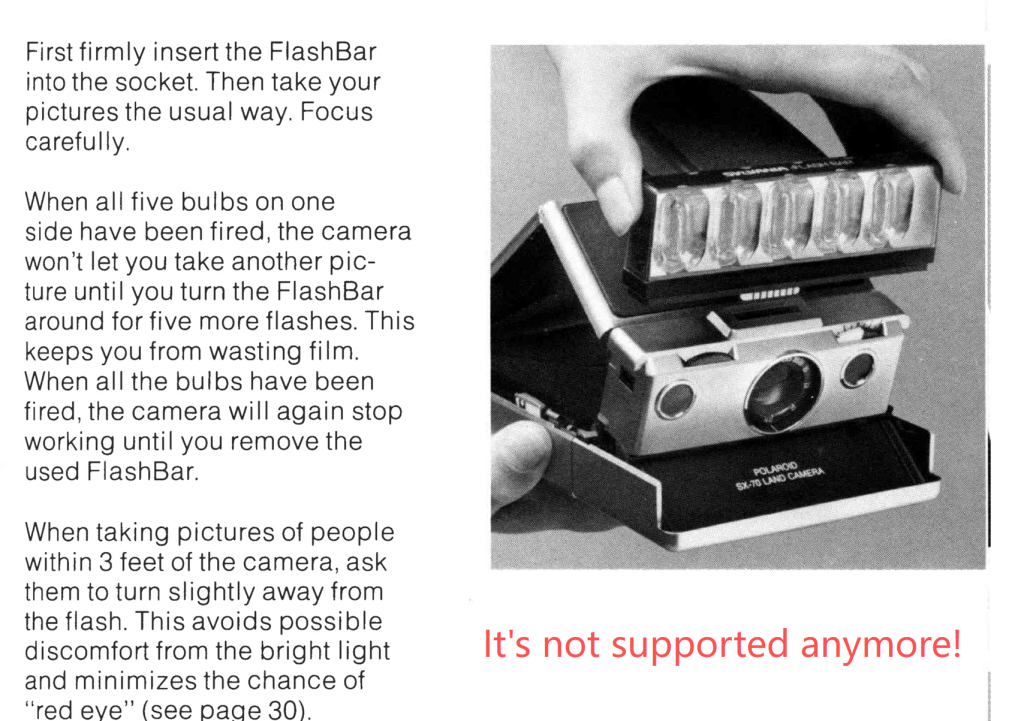
2.Darkslide won’t be ejected automatically ——press shutter button to eject it.
Please read the original SX-70 manual for basic usage:https://sx70r.com/wp-content/uploads/2026/03/SX-70-MANUAL.pdf
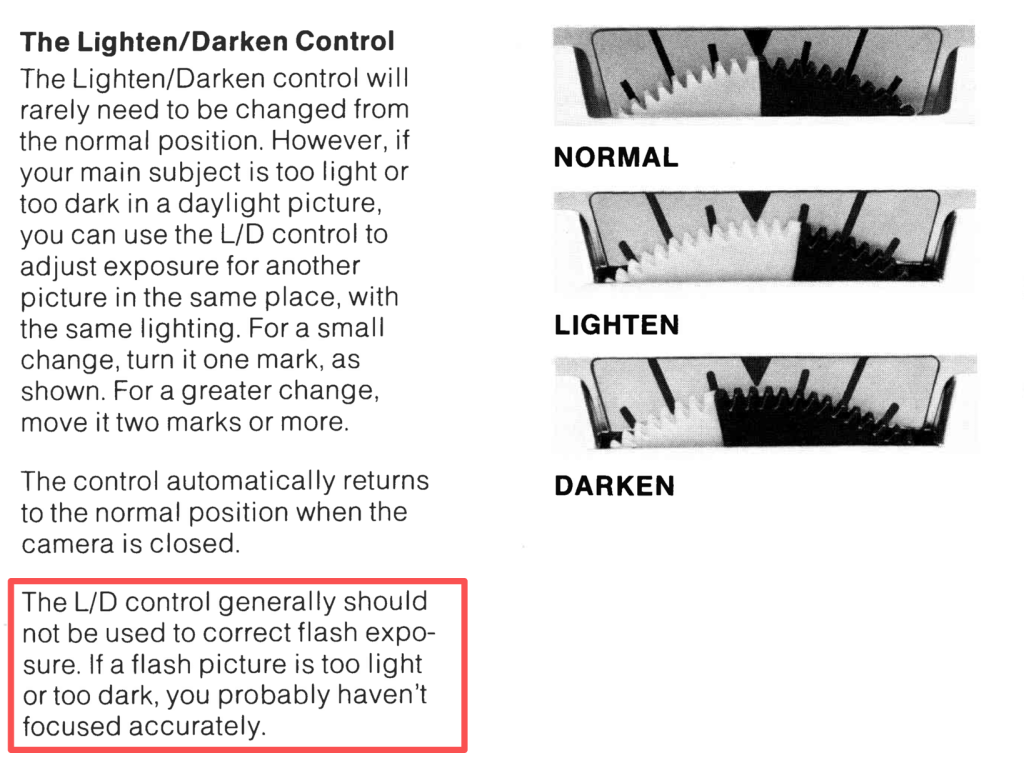
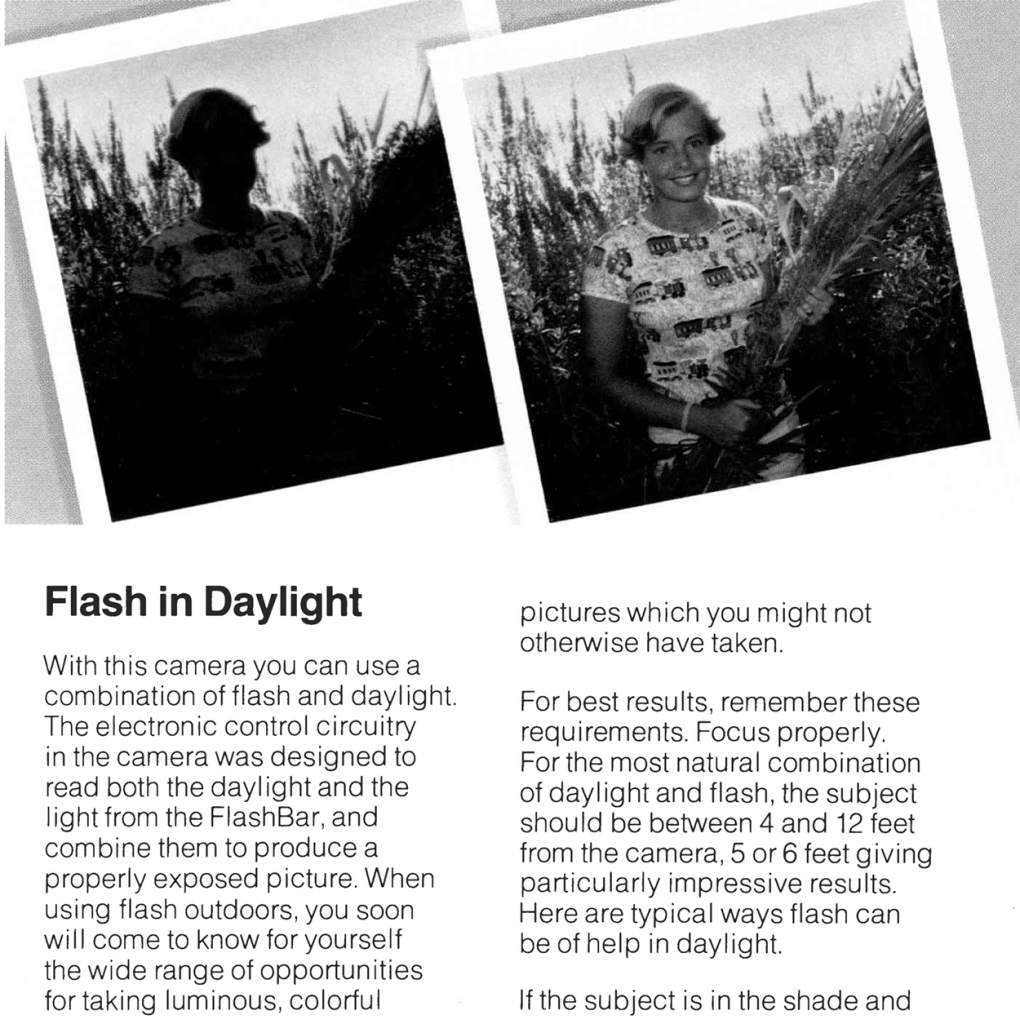
The L/D Wheel remains unchanged in its operation, but please pay attention to the flash part in the instruction manual; accurate focusing is still essential.
Although the manual states that the L/D Wheel should not be used for flash adjustment, it can actually still be used to adjust exposure in flash mode if you did use it.
When a flash is inserted and the automatic mode is used, the SX-70R’s circuit board can automatically balance ambient light and flash exposure, which is sufficient for most situations. However, it will not work well in excessively strong light or when the light reflected from the object itself is too strong. In these cases, you will need to manually adjust the L/D wheel to reduce or increase the exposure.
However, you still need to follow the instructions in the manual regarding the use of flash in daylight.
Flash Picture Fine Tunning
While flash exposures are generally well-exposed most of the time, Polaroid cameras use a fixed-brightness flash, with the aperture controlled by the interceptor based on distance. This means most objects reflect light appropriately, but exposure can be incorrect with very bright or very dark objects. Common scenarios include:
- If the object’s surface is white or strongly reflective, using a flash will result in overexposure; adjust the L/D wheel to reduce the exposure.
- If the object’s surface is black or dark, it will result in slight underexposure; increase the exposure.
Please note that this does not apply to situations where no flash is used; it may seem counterintuitive, so please understand this carefully.
How to use the app
Your camera communicates with the app via a technology called BLE, similar to smart home devices. Therefore, it doesn’t require the traditional Bluetooth pairing process. And please make sure your devices meet the following minimum requirements (May be updated due to a phone system update, but we try our best to maintain backward compatibility.):
For iPhone: iOS 15.1 or later
Android: Android 9.0 or later
Apple Watch: Watch 3 or later (following iOS 15)
Mac: Mac with M1 or later Apple chips.
To find the camera, first ensure your camera’s film has sufficient battery power, or that your external adapter is powering the camera. Then, unfold the camera. While the camera is unfolded, open the app, and it will display nearby cameras. The auto filter will only show the SX-70R camera, for Android user, sometimes the filter has compatibility issues, please turn off the filter.Because Android’s hardware is not standardized, it cannot use the camera for light metering.
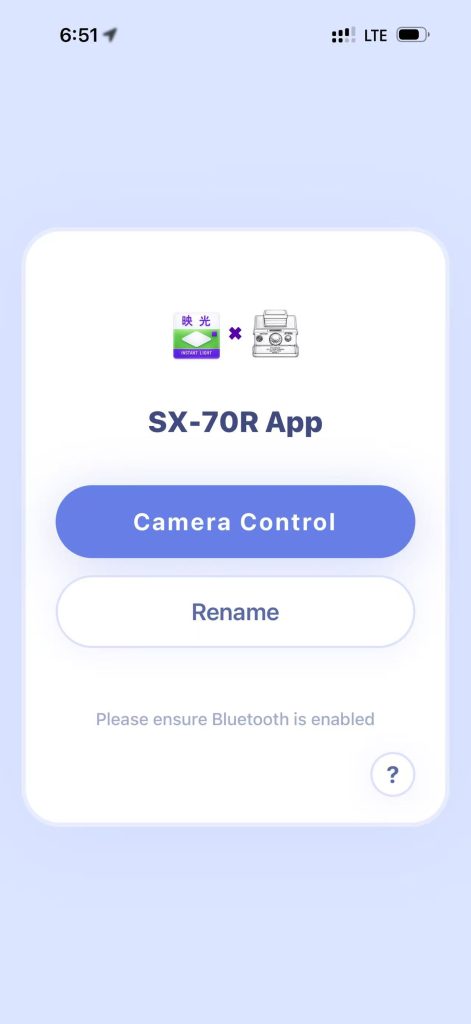
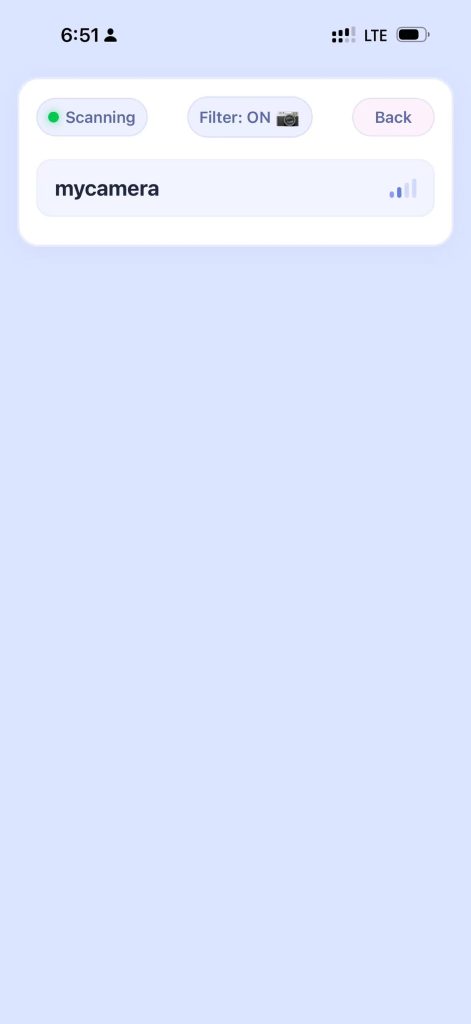
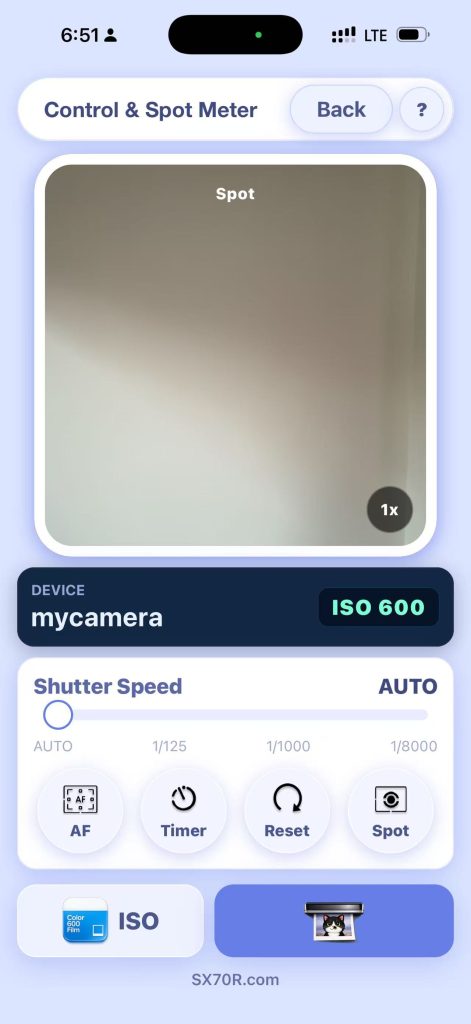
Click the name to establish a connection, and you will be able to use the manual mode. Clicking the spot button will use the phone’s camera view to measure the light and then transmit the measurement value to the camera and click the 1x button to swtich the view window zoom. For further information, press “?” .
If you set a shutter speed but didn’t reset it to auto before exiting the app, sometimes the camera won’t return to auto mode. In this case, fold the camera and then unfold it; the camera will exit and automatically return to auto.
Control the camera using a BLE UART interface (provided to professional technicians).
The control interface of this project is open source, allowing anyone to design their own app and physical wireless controller. However, our company strictly prohibits anyone from create harmful, virus-infected, or heavily advertised apps.
Please also reference to CH9141 BLE chip datasheet:CH9141DS1.PDF – Nanjing Qinheng Microelectronics Co., Ltd.
The camera’s default name is CH9141BLE2U. If you haven’t changed the name, it will appear in the Bluetooth device list:
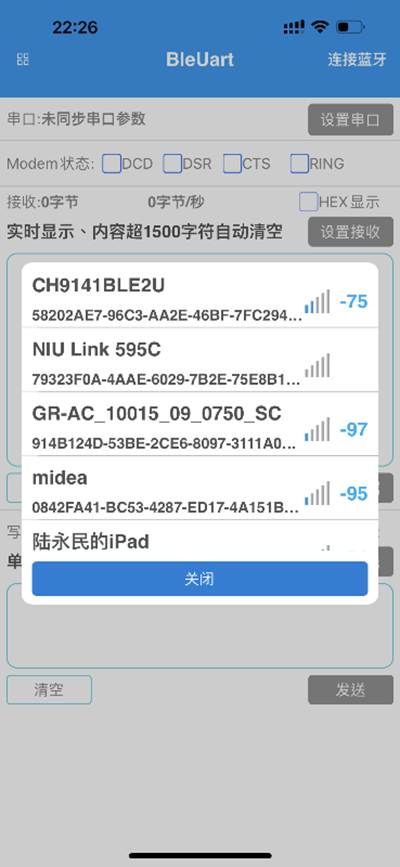
The camera is controlled by sending a 4bytes command. When the camera is connected, you will be able to control the camera by , there’s two characteristics in the service uuid:
Camera control is performed via BLE mode, and you can see these service and characteristics IDs on the CH9141BLE2U device:
Service UUID: 0000FFF0-0000-1000-8000-00805F9B34FB
characteristics ID:
(A) 0000FFF2-0000-1000-8000-00805F9B34FB for writing 4bytes command in hex to control the camera.
(B) 0000FFF1-0000-1000-8000-00805F9B34FB for read data from camera.
Supported 4bytes command:
Set shutter speed (millisecond): ffffxxxx (0xFF 0xFF 0x?? 0x??)
XXXX stands for shutter opening time, hexadecimal, two bytes, from 0002 to 7d00, the shutter opening time can be set from 2ms to 32000ms, for example, 0xff 0xff 0x01 0x35 means 135H=309D, the shutter opening time will be 309ms.
In particular,0x00 0x01 stands for auto exposure, and 0x00 0x02 for T mode.
Shutter release once: eeeeeeee (0xEE 0xEE 0xEE 0xEE)
Camera will take a photo with the shutter speed you set, if you want to take picture with manual shutter opening time, you need to set the shutter opening time before you send this command.
When T mode, the camera will start exposure then pause and wait for another eeeeeeee when the shutter is opened, you need to send this command to close the shutter and eject the film.
Read ISO from camera: dddddddd (0xDD 0xDD 0xDD 0xDD)
When you send this command to camera, the camera will return 0xAA or 0XBB in the characteristic 0000FFF1-0000-1000-8000-00805F9B34FB, you must read the return yourself. 0xAA stands for ISO 600 and 0xBB stands for SX70.
Setting ISO:
Send fefefefe (0xFE 0xFE 0xFE 0xFE) or fdfdfdfd (0xFD 0xFD 0xFD 0xFD), FE for setting ISO to 600, and FD for setting ISO to SX70. The camera will remember the ISO until you change it yourself.
For Sonar and 680:
Auto focus ON: afafafaf (0XAF 0XAF 0XAF 0XAF)
Auto focus will be started and locked in position.
Autofocus OFF: cfcfcfcf (0xCF 0xCF 0xCF 0xCF)
The lens will return to infinity.
Common Film Issues
Since Polaroid restarted film production, product quality has improved significantly. However, due to transportation, some less common problems arise. Here are some:
- This is the most common: the film wasn’t heated, but the overall contrast of the image is reduced, and dark areas appear a dark pinkish hue. This is usually because the photographic paper has been exposed to X-rays, especially airport X-ray security screening devices.
- Thin beams of light, like laser cuts, appear on the photograph. This is due to exposure to CT scans used in security checks.
- The camera has finished taking the picture, but the film hasn’t popped out. This is usually because the film is too dry or due to other reasons, causing it to become very dry and develop a bulge in the middle, preventing the hook from pushing it forward.